




Your Paver Patio Deserves Better Than Dirt and Grime
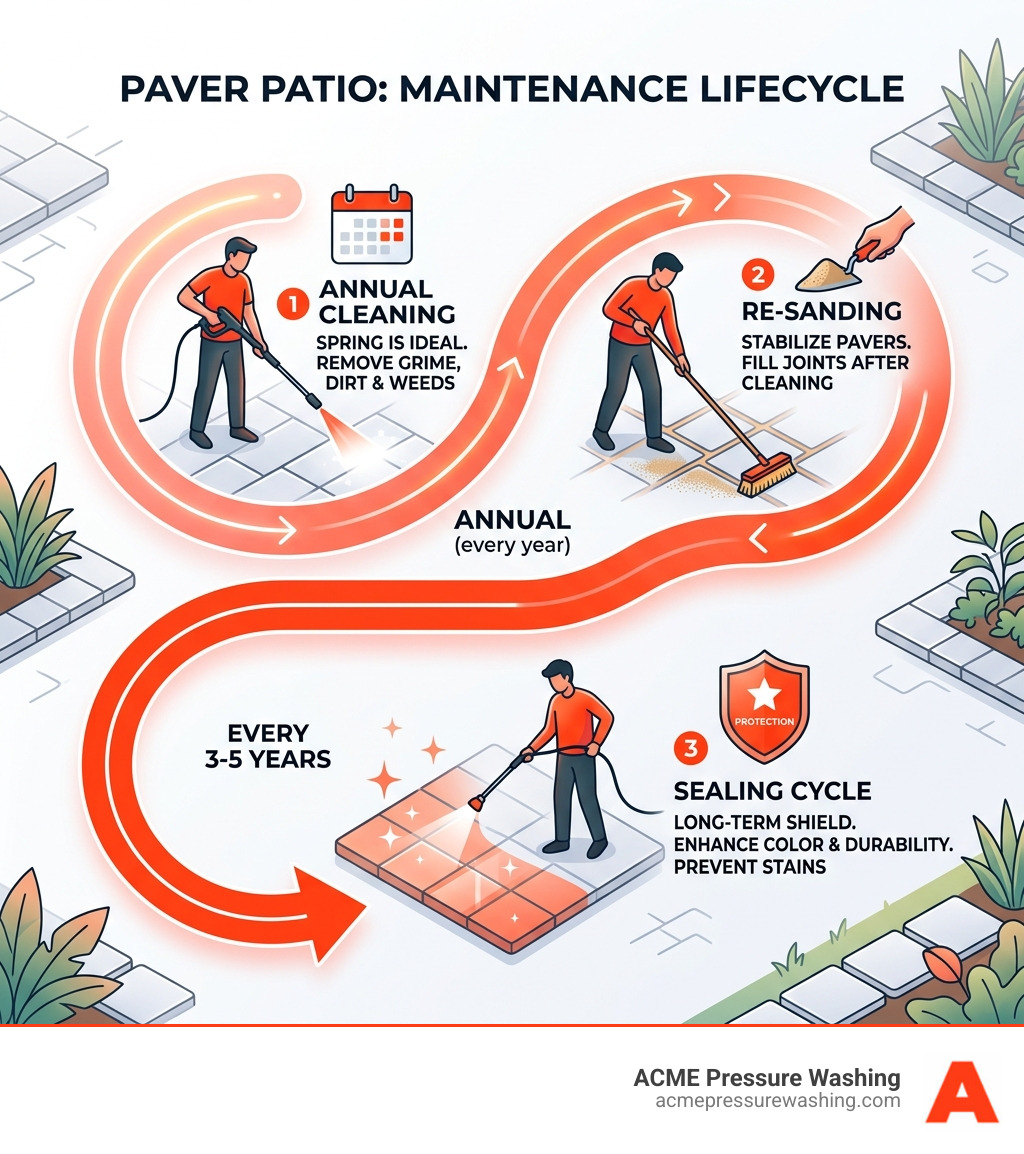
Paver power washing is one of the fastest and most effective ways to restore the look of your driveway, patio, or walkway. Here’s a quick overview of what it involves:
- Clean once a year (spring is ideal)
- Use 1,000–3,000 PSI depending on your paver material
- Always use a wide-angle nozzle (25–40 degrees) to avoid damage
- Re-sand joints after washing to keep pavers stable
- Seal every 3–5 years for long-term protection
Pavers look great when they’re new. But between Merrimack’s harsh winters, wet springs, and hot summers, it doesn’t take long for grime, mold, and weeds to take over.
Over time, dirt works its way into the surface. Algae and moss make things slippery. Weeds push up through the joints. And what was once a beautiful patio starts to look neglected.
The good news? Most pavers can be restored to near-original condition with the right cleaning approach. The bad news? Done wrong, power washing can strip the surface finish, blow out joint sand, and cause damage that’s expensive to fix.
That’s what this guide is for. We’ll walk you through everything — from safe PSI settings and nozzle choices to stain removal, re-sanding, and sealing — so you get great results without wrecking your pavers.
Is Paver Power Washing Safe? Understanding the Risks
One of the most common questions we hear at ACME Pressure Washing is whether paver power washing is actually safe for the stones. The short answer is yes—but only if it is done with the right equipment and technique. If you grab a high-powered rental unit and start blasting away without a plan, you risk permanent damage.
Concrete pavers (often manufactured according to standards from the Interlocking Concrete Pavement Institute) are made with a specific blend of aggregates and “fines” (very small particles). These fines are concentrated on the surface to give the paver its smooth texture and vibrant color. Using excessive pressure or a “jet” style 0-degree nozzle can actually strip these fines away. This process, known as etching, exposes the larger rocks underneath, making the pavers look pitted, dull, and prematurely aged.
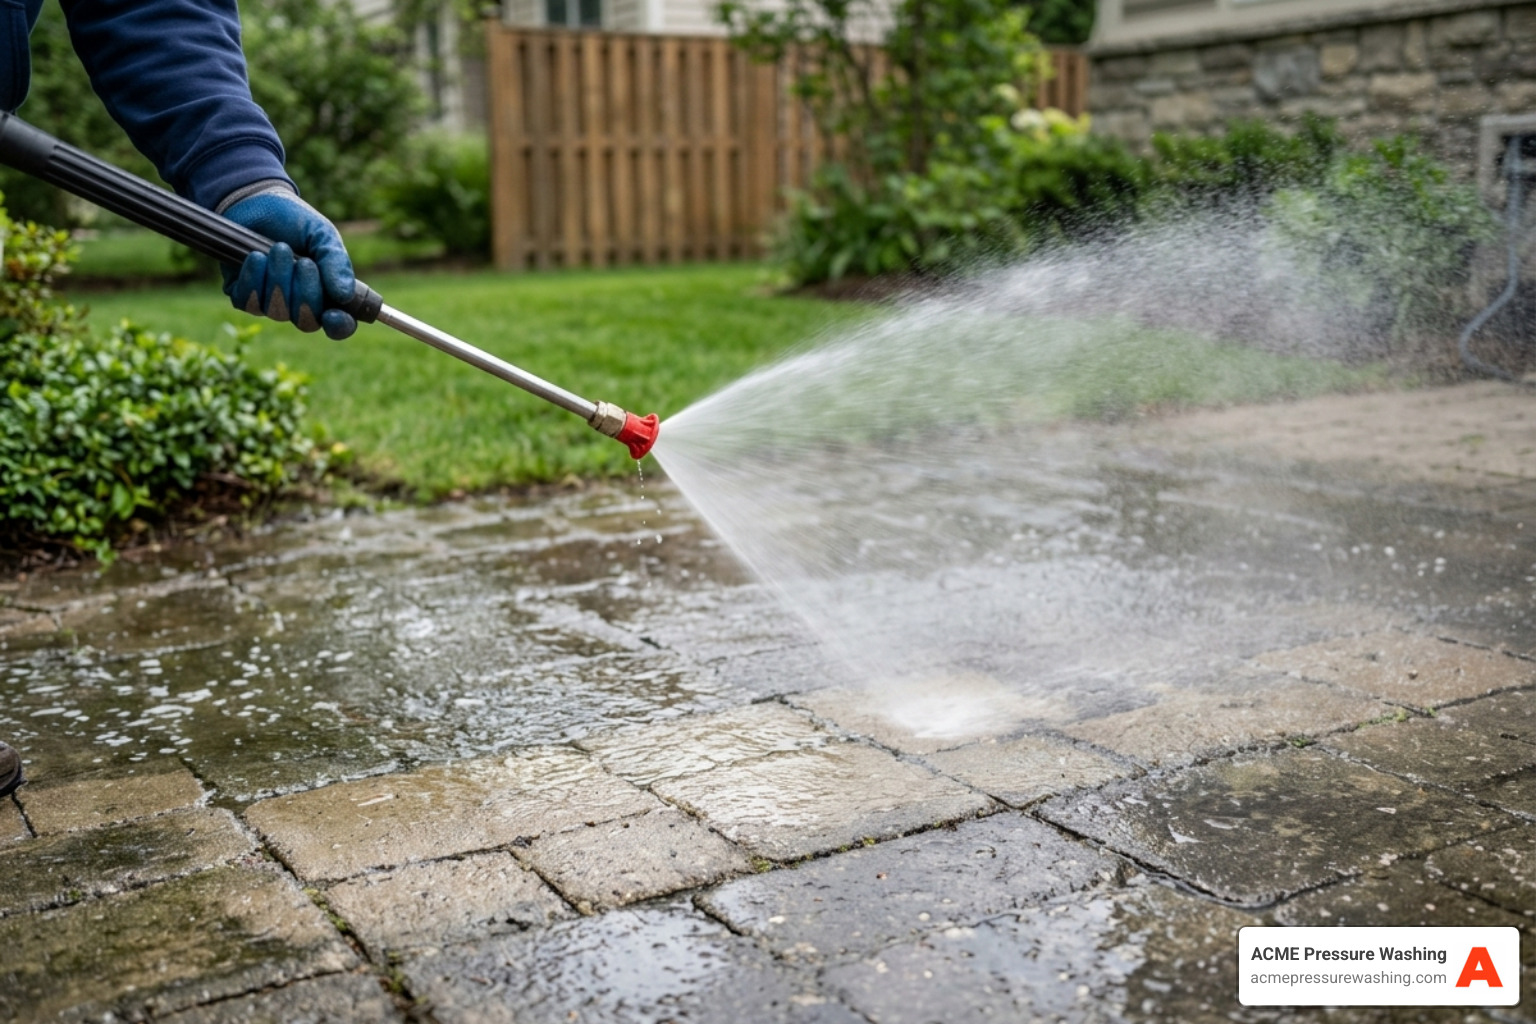
Another major risk is joint sand displacement. The sand between your pavers isn’t just there for looks; it creates “interlock,” which keeps the stones from shifting under the weight of foot traffic or vehicles. High-pressure water can easily blast this sand out, leaving your patio unstable. Furthermore, if water is driven too deep into the base material at a sharp angle, it can cause the sub-base to wash out, leading to sagging or “dipping” in your patio surface. To learn more about the mechanics of safe cleaning, check out our page on Power Washing.
Recommended PSI for Different Paver Power Washing Projects
Not all pavers are created equal. A natural slate tile cannot handle the same “punch” as a heavy-duty concrete driveway paver. To help you navigate this, we’ve broken down the recommended pressure settings by material. Generally, we suggest staying between 1,000 and 3,000 PSI, but the specific number matters.
| Paver Material | Recommended PSI | Recommended Nozzle |
|---|---|---|
| Concrete Pavers | 2,000 – 3,000 PSI | 25° or 40° Fan Tip |
| Brick Pavers | 1,500 – 2,500 PSI | 40° Fan Tip |
| Natural Stone (Slate, Flagstone) | 1,000 – 1,500 PSI | 40° Fan Tip (Soft Wash preferred) |
| Clay Pavers | 1,500 PSI or lower | 40° Fan Tip |
Concrete brick pavers that are 2 to 3 inches thick are often rated to withstand 8,000 to 10,000 PSI in a laboratory setting, but that doesn’t mean you should use that much pressure! In the real world, 2,000 to 3,000 PSI is plenty for concrete, while softer materials like natural stone require a much gentler touch to avoid flaking or “spalling.”
Essential Equipment and Preparation for Success
Before you start your paver power washing project in Amherst or Hollis, you need the right tool kit. While a standard wand works, professionals often use “flat surface cleaners”—walk-behind tools that look like small lawnmowers. These tools use rotating bars to provide a consistent, even clean without the “tiger stripes” often left by handheld wands.
Essential tools include:
- A 40-degree (white) nozzle: This provides a wide fan that disperses pressure safely.
- Eco-friendly detergents: Specialized paver cleaners are better than standard dish soap for breaking down organic growth.
- Safety gear: Goggles, gloves, and sturdy boots are non-negotiable.
- Tarps: Use these to cover delicate landscaping or nearby siding.
Preparation is key. We always recommend moving all furniture and plants off the surface first. Then, take a stiff-bristle broom and sweep away loose debris, leaves, and twigs. If you have heavy weed growth, it’s a good idea to treat them with a weed killer a few days before you plan to wash. For a full list of what we bring to a job site, see our Power Washing Services page.
Pre-Treating Stains Before Paver Power Washing
If you have a driveway in Londonderry or a patio in Bedford, you likely have more than just “dirt.” You might be dealing with oil leaks, rust from patio furniture, or “efflorescence”—that white, powdery mineral deposit that sometimes appears on concrete.
- Oil Stains: These require a degreaser. Apply the solution and let it dwell for 10-15 minutes (don’t let it dry!) before scrubbing with a stiff brush.
- Efflorescence: This is a natural phenomenon where calcium minerals rise to the surface. Specialized “efflorescence removers” (often mild acids) can help, but they must be used carefully.
- Mold and Algae: In our New Hampshire climate, green algae is common. A diluted oxygen bleach or a vinegar-based solution can kill the spores. Let it sit for 10 minutes before rinsing.
Taking the time to pre-treat these spots ensures that the actual power washing step is much more effective. You can see some of our successful transformations in our guide on Restoring Walkways and Patios.
Step-by-Step Guide to Professional-Grade Results
Now for the main event. To get that “newly installed” look for your patio in Nashua or Merrimack, follow these steps:
- The Pre-Soak: Use a garden hose to wet the pavers and any surrounding grass. Wetting the grass prevents it from absorbing the cleaning chemicals you’re about to use.
- Apply Cleaner: Use your pressure washer’s soap tip to apply a paver-safe detergent. Work in sections so the soap doesn’t dry on the surface.
- The 30-Degree Rule: When using the wand, hold it at an angle no greater than 30 degrees relative to the surface. This “sweeping” motion directs the water across the paver rather than straight down into the joints, which helps keep your sand in place.
- Maintain Distance: Keep the nozzle 12 to 18 inches away from the pavers. If you get too close, you risk etching the stone.
- Sectional Washing: Work from the highest point of the patio downward toward the drainage area. This prevents dirty water from flowing back over the areas you’ve already cleaned.
- The Final Rinse: Once a section is clean, rinse it thoroughly with low pressure until the water runs clear.
Managing drainage is vital. You don’t want all that grime and soap ending up in your basement window wells or pool. If you’re curious about what a finished project looks like, browse our Gallery Walkway and Patio Cleaning.
Post-Cleaning Care: Re-Sanding and Sealing
Once the paver power washing is done, your job isn’t quite finished. Because even the best technique will displace some sand, you must replace it to maintain structural integrity.
Re-Sanding: Wait for the pavers to dry completely. Then, pour polymeric sand (a special sand with binding agents) over the surface. Use a push broom to sweep it into the joints until they are filled to about 1/8th of an inch below the paver surface. Lightly mist the sand with a hose to activate the polymers, which will harden and lock the pavers in place while preventing weed growth.
Sealing: We recommend sealing your pavers every 3 to 5 years. Sealing does three things: it protects the stone from oil and tannin stains, it enhances the color (giving it that “wet look” if desired), and it further stabilizes the joint sand.
- Wait Time: If your pavers are brand new, wait at least a few months (sometimes up to a year) before sealing to allow efflorescence to escape.
- Application: Apply the sealer with a sprayer and back-roll it with a foam roller for even coverage. Avoid sealing if rain is in the forecast within 24–48 hours.
Proper maintenance between cleanings—like a quick weekly sweep and hose-down—can extend the life of your sealer. For more details on the sealing process, visit our Walkway and Patio Cleaning page.
When to Hire a Professional for Your Paver Patio
While DIY is possible for small patios, many homeowners in towns like Windham and Milford find that the scale of the job is more than they bargained for. A professional team brings industrial-grade hot water pressure washers (which clean better at lower pressures) and high-end surface cleaners that prevent damage.
Cost Considerations: Based on internet data, the average cost for professional paver cleaning and restoration ranges from $2.00 to $15.00 per square foot.
- Basic Cleaning: $2.00 – $6.00 per sq. ft.
- Cleaning + Re-sanding: $6.00 – $10.00 per sq. ft.
- Full Restoration (Clean, Re-sand, and Seal): $10.00 – $15.00 per sq. ft.
(Note: These are average costs based on internet data; the high end can be significantly more depending on the level of staining and the type of sealer used.)
Hiring a professional also removes the liability of damaging your expensive hardscape. If you’re looking for a hassle-free experience, consider our Power Washing Services.
Frequently Asked Questions about Paver Power Washing
How often should I power wash my pavers?
We recommend a thorough cleaning once a year, preferably in the spring. This removes the salt and grime from the New Hampshire winter and gets your patio ready for summer barbecues. If your patio is under heavy tree cover or in a very shaded area, you might need a light cleaning again in the fall to remove leaf tannins.
Will power washing remove the sand between my pavers?
If done correctly with a wide-angle nozzle and a 30-degree approach, sand loss will be minimal. However, some sand displacement is almost inevitable with pressure washing. This is why re-sanding with polymeric sand is a standard part of the restoration process.
Can I use bleach or vinegar to clean paver stains?
Vinegar is a great, non-toxic way to kill mold and mildew (let it sit for 10-15 minutes). However, be careful with bleach; it can discolor some types of pavers and harm your surrounding plants. Always test any cleaning solution on a small, hidden corner first.
Conclusion
Your outdoor living space is an investment that adds significant value to your home. Regular paver power washing is the best way to protect that investment and keep your property looking its best. Whether you are tackling a small walkway in New Boston or a massive pool deck in Londonderry, the key is patience, the right pressure, and proper post-wash care.
At ACME Pressure Washing, we have over 38 years of experience serving the Merrimack, NH area. We pride ourselves on using safe, customized, and eco-friendly techniques to ensure your pavers look like new without the risk of damage. If you’re ready to see a “before and after” transformation on your own property, contact us for a Professional Walkway and Patio Cleaning consultation today. Let us do the heavy lifting while you get back to enjoying your beautiful outdoor space!
