Stop the Grime: A Guide to Pressure Washing Patios and Pavers
Your Patio Is Dirtier Than You Think — Here’s What to Do About It
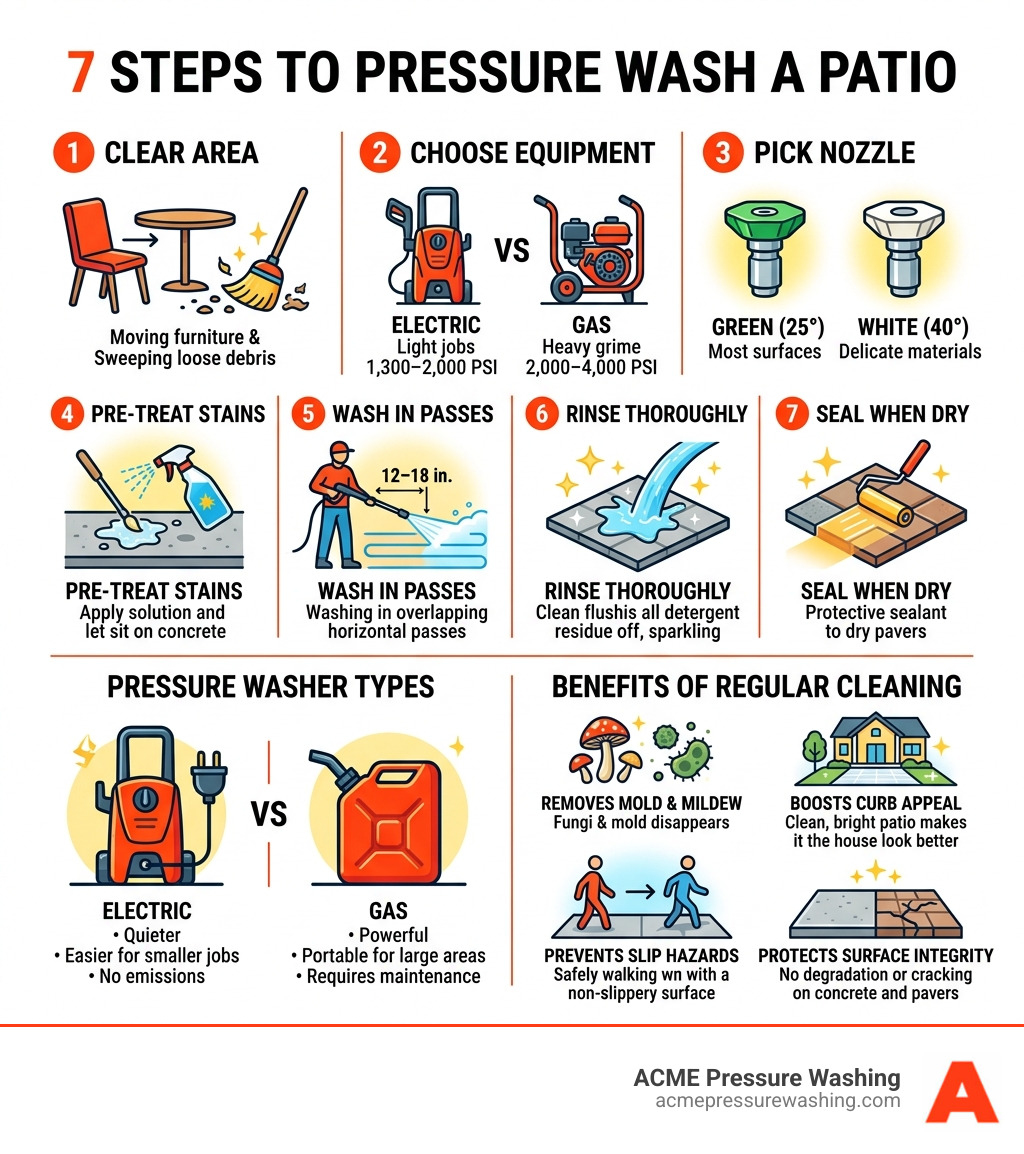
Pressure wash patio surfaces are one of the fastest ways to remove years of built-up grime, mold, and stains from your outdoor space. Here’s a quick overview of how to do it right:
- Clear the area — remove furniture, sweep loose debris
- Choose the right equipment — electric (1,300–2,000 PSI) for light jobs, gas (2,000–4,000 PSI) for heavy grime
- Pick the right nozzle — green (25°) for most surfaces, white (40°) for delicate materials
- Pre-treat stubborn stains — apply a biodegradable cleaner and let it sit 10–15 minutes
- Wash in overlapping passes — hold the wand 12–18 inches from the surface
- Rinse thoroughly — remove all detergent residue
- Seal when dry — protect pavers and concrete from future staining
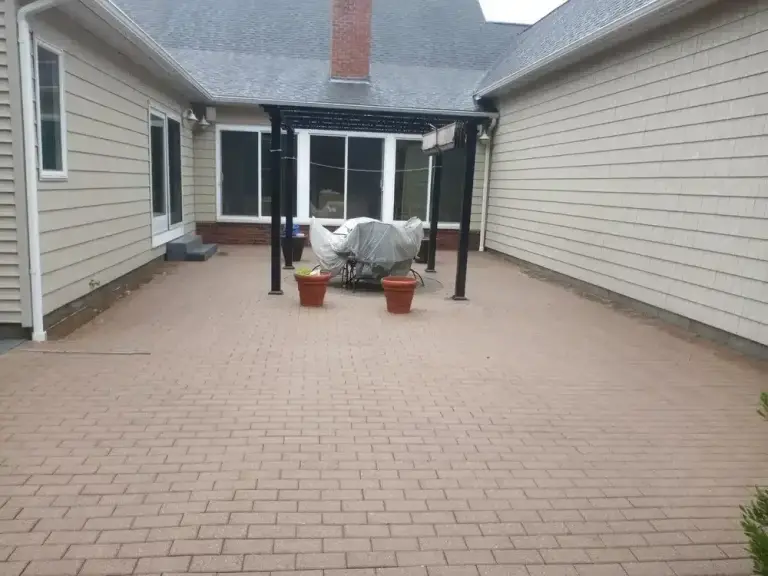
Your patio takes a beating. Rain, shade, foot traffic, and New England winters create the perfect conditions for mold, mildew, algae, and deep-set grime to take hold — fast.
Left untreated, that buildup doesn’t just look bad. It can actually degrade your patio surface over time, eating into concrete, loosening grout between pavers, and making surfaces dangerously slippery.
The good news? A pressure washer can transform a grimy, green-stained patio into something that looks almost new — often in just a few hours.
But there’s a catch. Using the wrong pressure, nozzle, or technique can cause real damage — etching concrete, stripping grout, or splintering wood. Knowing what you’re doing before you pull the trigger makes all the difference.
This guide covers everything: equipment selection, surface-specific techniques, safety, costs, and when it makes sense to call in a professional.
Understanding the Basics: Pressure vs. Power Washing
Before we dive into the “how-to,” we need to clear up some common confusion. Many people use the terms “pressure washing” and “power washing” interchangeably, but in professional exterior cleaning, they mean very different things.
The main difference is heat. A power washer uses a heating element to blast hot water, which is incredibly effective for melting away grease, oil, and chewing gum. Think of it like washing greasy dishes in the sink—hot water just cuts through the gunk better. However, for most residential patios in Amherst or Merrimack, standard cold-water pressure washing is more than enough to handle organic growth like moss and algae.
There is also a third method called “soft washing.” This uses very low pressure combined with specialized cleaning solutions to kill mold and mildew at the root without risking damage to delicate surfaces.
| Feature | Pressure Washing | Power Washing | Soft Washing |
|---|---|---|---|
| Water Temp | Cold | Hot | Cold/Warm |
| Pressure (PSI) | High (2,000–4,000) | High (2,000–4,000) | Low (<1,000) |
| Best For | Dirt, mud, bird droppings | Grease, oil, gum, salt | Algae, moss, delicate stone |
| Risk Level | Moderate | High | Low |
For a deeper dive into these technical differences, check out this complete guide to patio pressure washing.
Choosing the Right Equipment to Pressure Wash Patio Spaces
When you decide to pressure wash patio areas, the first hurdle is the machine itself. You generally have two choices: electric or gas.
- Electric Pressure Washers: These are usually quieter and lighter. They typically produce between 1,300 and 2,000 PSI. They are great for small patios or light cleaning, but they might struggle with 20 years of deep-set New England grime.
- Gas Pressure Washers: These are the heavy hitters, producing 2,000 to 4,000 PSI. They offer more mobility since they aren’t tethered to an outlet, but they require more maintenance (oil changes, fuel stabilization).
The “secret sauce” of a successful clean isn’t just the machine—it’s the nozzle. Most machines come with color-coded tips that determine the spray pattern:
- Red (0-degree): A laser-like stream. Warning: Do not use this on your patio! It can slice through stone and cause serious injury.
- Yellow (15-degree): High pressure for heavy stripping. Use with extreme caution on concrete.
- Green (25-degree): The “Goldilocks” nozzle. It’s perfect for most pressure wash patio tasks, offering a balance of power and safety.
- White (40-degree): A gentle fan spray. Best for delicate stone or wood.
If you have a large flat area, we highly recommend a surface cleaner attachment. It looks like a mini lawnmower and uses rotating jets to clean a wide path evenly, preventing the “tiger stripes” often left behind by a standard wand. You can see examples of how these tools transform a space on our walkway and patio cleaning page.
Detergents and Eco-Friendly Cleaning Solutions
While water does the heavy lifting, the right detergent acts as a force multiplier. For patios in New Hampshire, where humidity can lead to rapid algae growth, a specialized cleaner is often necessary to kill the spores.
We always advocate for biodegradable, eco-friendly cleaners. These solutions break down naturally and are safer for your lawn and local wildlife. For heavy mildew, look for pH-neutral soaps that won’t etch natural stone. If you’re dealing with a particularly stubborn area, pre-treating with a mildew-specific solution and letting it dwell for 15 minutes can make the actual washing much easier.
As noted in the HireRush Blog, using a detergent can significantly speed up the process and help tackle those “black spots” that water alone might miss.
How to Pressure Wash Patio Surfaces Safely
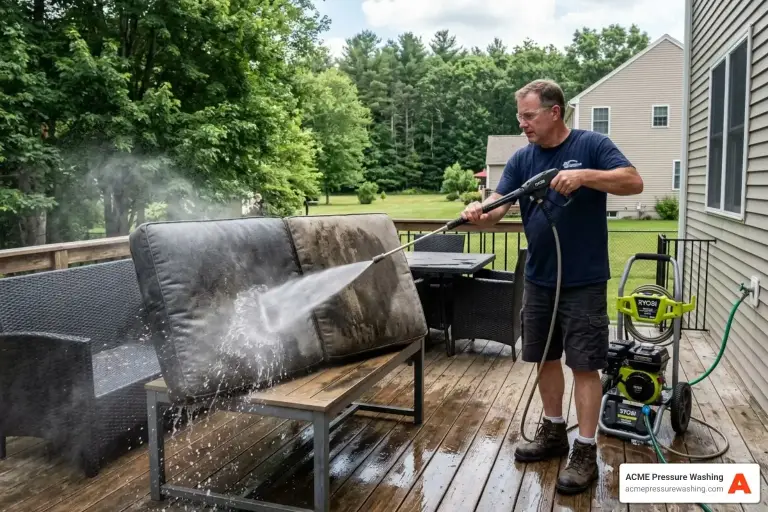
Safety is not just a suggestion; it’s a requirement. A pressure washer is a powerful tool that can exert enough force to penetrate skin or send debris flying at high speeds.

Before you start, gear up. You should always wear:
- Safety Goggles: To protect against flying grit and detergent splash-back.
- Closed-Toe Shoes: Never, ever pressure wash patio stones in sandals. A split-second mistake can lead to a trip to the ER.
- Hearing Protection: Gas models can be quite loud.
When cleaning, maintain a consistent distance of 12 to 18 inches from the surface. Getting too close is the number one cause of surface damage. For more on the basics of safe operation, Angi provides a solid 6-step overview.
Essential Safety Steps Before You Pressure Wash Patio Materials
Preparation is half the battle. Before you even connect the hose, take these steps:
- Clear the Deck: Move all furniture, planters, and grills.
- Protect Electronics: Cover outdoor outlets and light fixtures with plastic bags and painter’s tape.
- Pre-Soak Plants: Wet down nearby bushes and flowers. This dilutes any detergent runoff that might land on them.
- Test a Spot: Always test your pressure and nozzle on an inconspicuous corner first. This ensures you won’t accidentally etch the surface where everyone can see it.
For more tips on prepping your space, read our guide on deep cleaning patio slabs.
Common Mistakes to Avoid
Even with the best intentions, DIYers often fall into common traps.
- Surface Etching: This happens when the nozzle is too close or the pressure is too high, leaving permanent “scars” in the concrete.
- Grout Displacement: If you blast directly into the joints of a paver patio, you will wash away the sand or grout that holds the stones in place.
- The 0-Degree Danger: As mentioned, the red nozzle is almost never appropriate for home use. It’s too concentrated and dangerous.
- Inconsistent Motion: If you don’t use long, sweeping, overlapping strokes, your patio will dry with visible streaks.
As the experts at V-TUF point out, keeping the wand at a 45-degree angle rather than pointing it straight down can help prevent some of these issues.
Material-Specific Techniques for Patios and Pavers
Not all patios are created equal. A technique that works for a rugged concrete driveway could ruin a delicate natural stone walkway.
- Concrete: Generally the most durable. It can handle higher PSI (up to 3,000), but you still need to be careful not to “cream” the surface (stripping the top layer of smooth cement to reveal the rough aggregate underneath).
- Brick: Bricks are porous and can be surprisingly soft. They are also prone to moss in the mortar joints. Use a wider nozzle (25 or 40 degrees) and avoid high pressure on the mortar.
- Natural Stone (Flagstone, Slate): These materials can “flake” if hit with too much pressure. A soft wash approach is often best here.
- Wood Patios/Decks: Always wash with the grain. Going against the grain or using too much pressure will cause the wood to splinter, requiring a massive sanding job later.
According to All Washed Up, understanding these material nuances is the key to a “spring transformation” that lasts.
Best Practices for a Pressure Wash Patio Project by Material
If you are working with pavers, you must be prepared for “joint stabilization.” Pressure washing often removes the polymeric sand between pavers. This sand is what keeps the pavers from shifting and prevents weeds from growing.
Pro Tip: After the patio is completely dry (usually 24-48 hours), you should sweep new polymeric sand into the joints to ensure they stay locked in place. You can see the results of professional-grade joint stabilization in our gallery of walkway and patio cleaning.
Post-Cleaning Maintenance and Sealing
Once your patio is sparkling clean, you want to keep it that way.
- Sealing: For concrete and pavers, applying a high-quality sealer is the best defense. It creates a barrier against oil stains, salt damage, and UV rays.
- Weekly Sweeping: Don’t let leaves or grass clippings sit on the patio. As they decompose, they release tannins that can leave stubborn brown stains.
- Weed Inhibition: Keeping those joints filled with sand is your first line of defense against weeds.
For a full list of maintenance services, visit our walkway and patio services page.
The Cost to Pressure Wash Patio Areas: DIY vs. Professional
When considering the cost, it’s important to look at the “internet data averages” for 2026. Prices can vary wildly based on the size of the patio, the material, and the level of grime.
Based on national data, professional pressure washing for a patio typically ranges from $80 to $500, with a wide range for larger or more complex jobs reaching up to $1,500. Most homeowners find themselves spending around $250 for a standard-sized space. Professionals often charge by the square foot (typically $0.10 to $0.50) or an hourly rate ($80 to $140 per hour).
For a detailed breakdown of what to expect, Royal Pressure Washing offers a great guide on pricing and tips.
Evaluating the DIY Investment
If you decide to go the DIY route, here is a quick look at the potential costs:
- Purchase: A decent residential pressure washer will cost between $100 and $1,000.
- Rental: Expect to pay $35 to $175 per day at a local hardware store in Nashua or Derry.
- Supplies: Detergents, safety gear, and polymeric sand can add another $50 to $100.
- Time: A typical patio takes a DIYer about 2 to 4 hours, not including setup, cleanup, and the learning curve.
While DIY can save money upfront, the risk of property damage or personal injury is real. Often, the cost of a professional service is comparable to the price of renting equipment and buying supplies for a weekend. You can explore our full range of professional services to see if it’s the right fit for you.
Frequently Asked Questions about Patio Cleaning
How often should I clean my patio?
In New England, we recommend a thorough cleaning every 12 to 18 months. Our humid summers and harsh, salt-filled winters mean grime builds up faster here than in other parts of the country. If your patio is heavily shaded by trees, you might even need a light wash every 6 months to keep algae at bay. This is often done in conjunction with house pressure washing to keep the whole property looking sharp.
Can I damage my patio with too much pressure?
Absolutely. High pressure can etch concrete, strip the finish off wood, and blast out the sand between pavers. The key is using the right nozzle (stay away from the red one!) and maintaining a safe distance. If you see the surface changing texture or “fuzzing,” stop immediately—you are using too much pressure.
What is the best time of year for patio washing?
The “sweet spot” is spring (April to June) or early fall (September to October).
- Spring: Cleans away the salt and grit from winter so you can enjoy the patio all summer.
- Fall: Removes the summer’s dust and pollen before the leaves fall and stain the surface. The most important factor is the temperature—it must be at least 40 degrees Fahrenheit to ensure the water doesn’t freeze in the lines or on the surface, which can cause cracking.
Conclusion
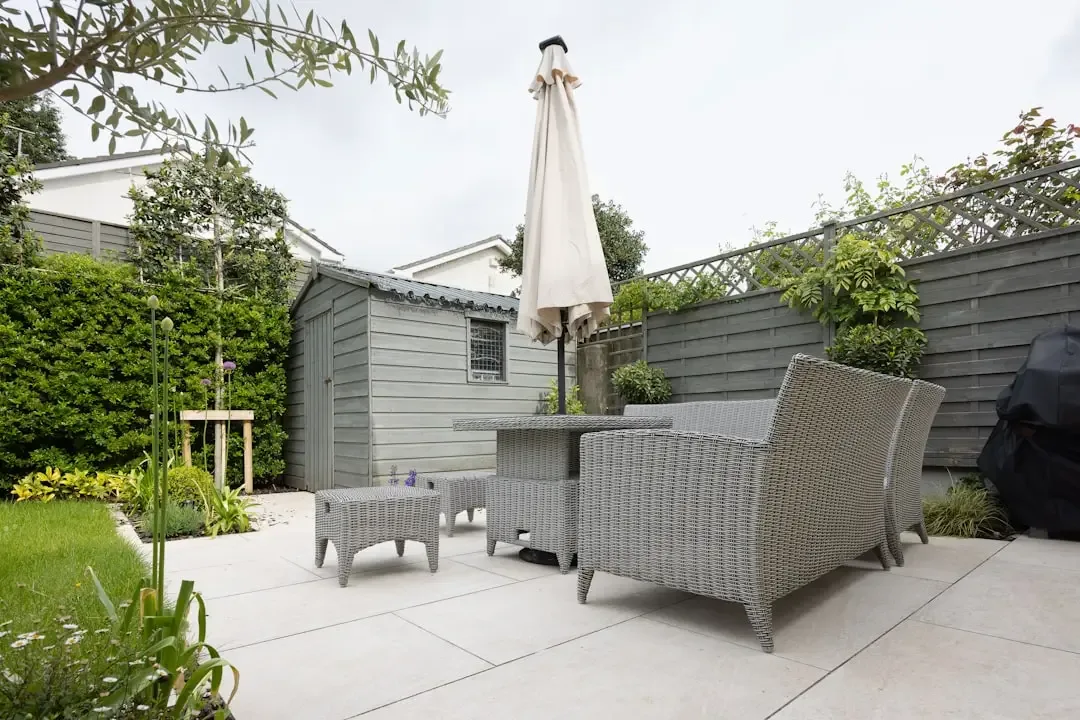
A clean patio is the heart of your outdoor living space. Whether you’re hosting a summer BBQ in Hollis or enjoying a quiet morning coffee in Bedford, a grime-free surface makes all the difference. While DIY is an option for some, the risks of damage and the sheer physical labor involved lead many New Hampshire homeowners to seek professional help.
At ACME Pressure Washing, we bring over 38 years of experience to every job. Based in Merrimack, NH, we pride ourselves on using safe, customized, and eco-friendly techniques that protect your investment while delivering a deep clean that DIY machines simply can’t match. We serve a wide area, including Amherst, Auburn, Bedford, Brookline, Derry, Goffstown, Hollis, Londonderry, Manchester, Milford, Mont Vernon, Nashua, New Boston, Wilton, and Windham.
Ready to see your patio transformed? Schedule your professional patio cleaning today and let us handle the grime!